Installing a Network Rack in My House
After about a month of work I’ve finally finished installing my new network, all contained in an actual network rack. If you want to see what my network was like before this, here is the post
Here is a quick before and after:
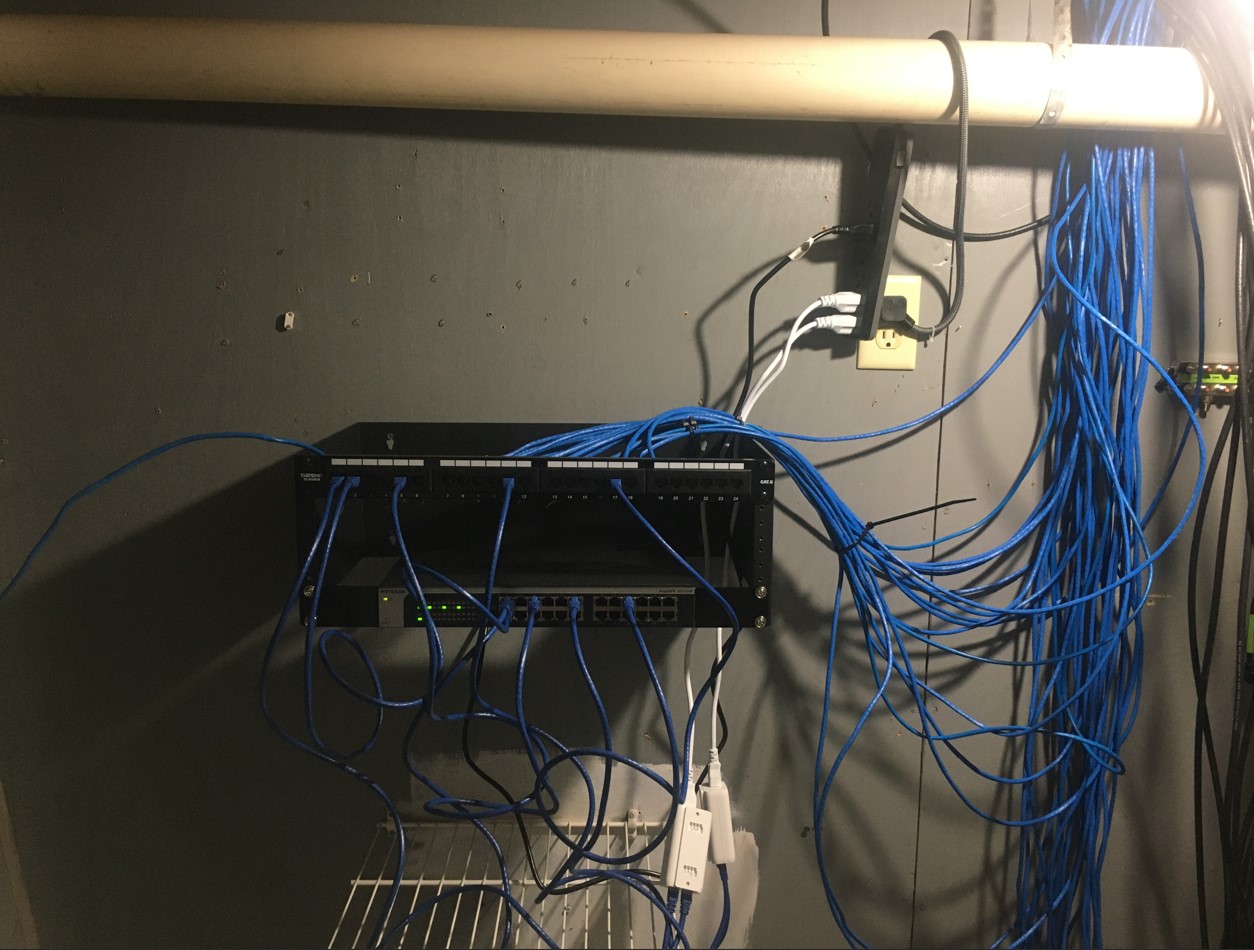
(Router and modem are upstairs. I have cable that runs directly to the switch here.)
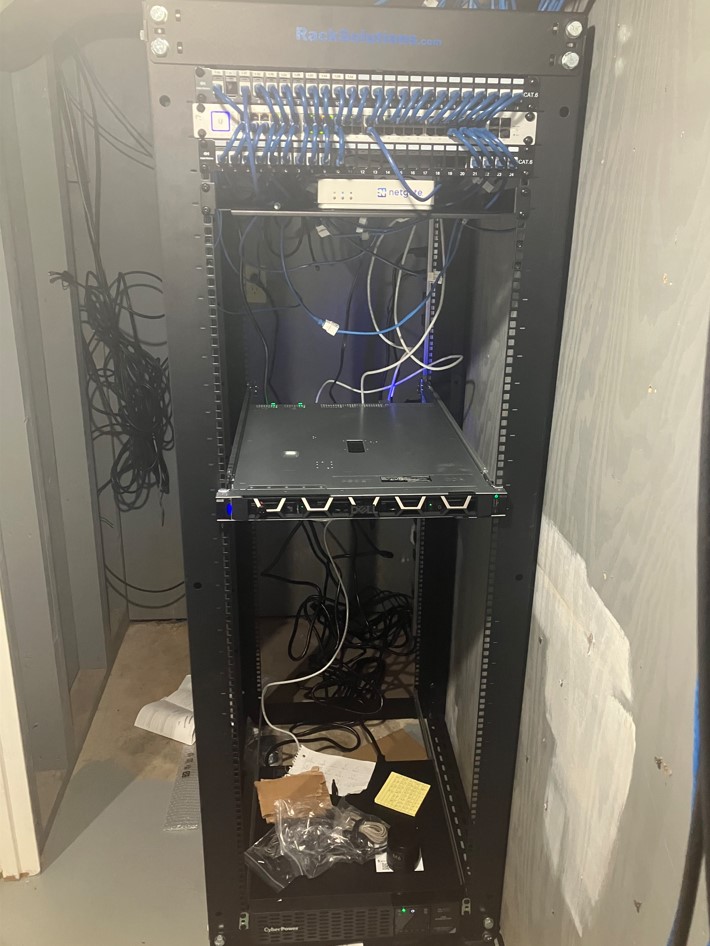
(I’ve moved the router down here, while the modem stays upstairs, since that is where the source is. Don’t feel like tracing coax)
There are some obvious issues with the old network. First, there was no UPS, just a tiny surge protector. And second, the patch panel I used sucked. I originally made the mistake of getting a monolithic patch panel, that was not modular. That meant that all the ethernet ports were directly built into the panel. Which meant I couldn’t move cables around on the panel without re-terminating them each time. And if you look back at my old network post, you can see it was a PIA to install. Just having individual keystones for each cable run makes way more sense and made cable installation way easier later on.
To get to this point took a very long time, and I’m going to start from the beginning. The first thing I had to do was clear out the server room to make room for me to assemble the actual rack:
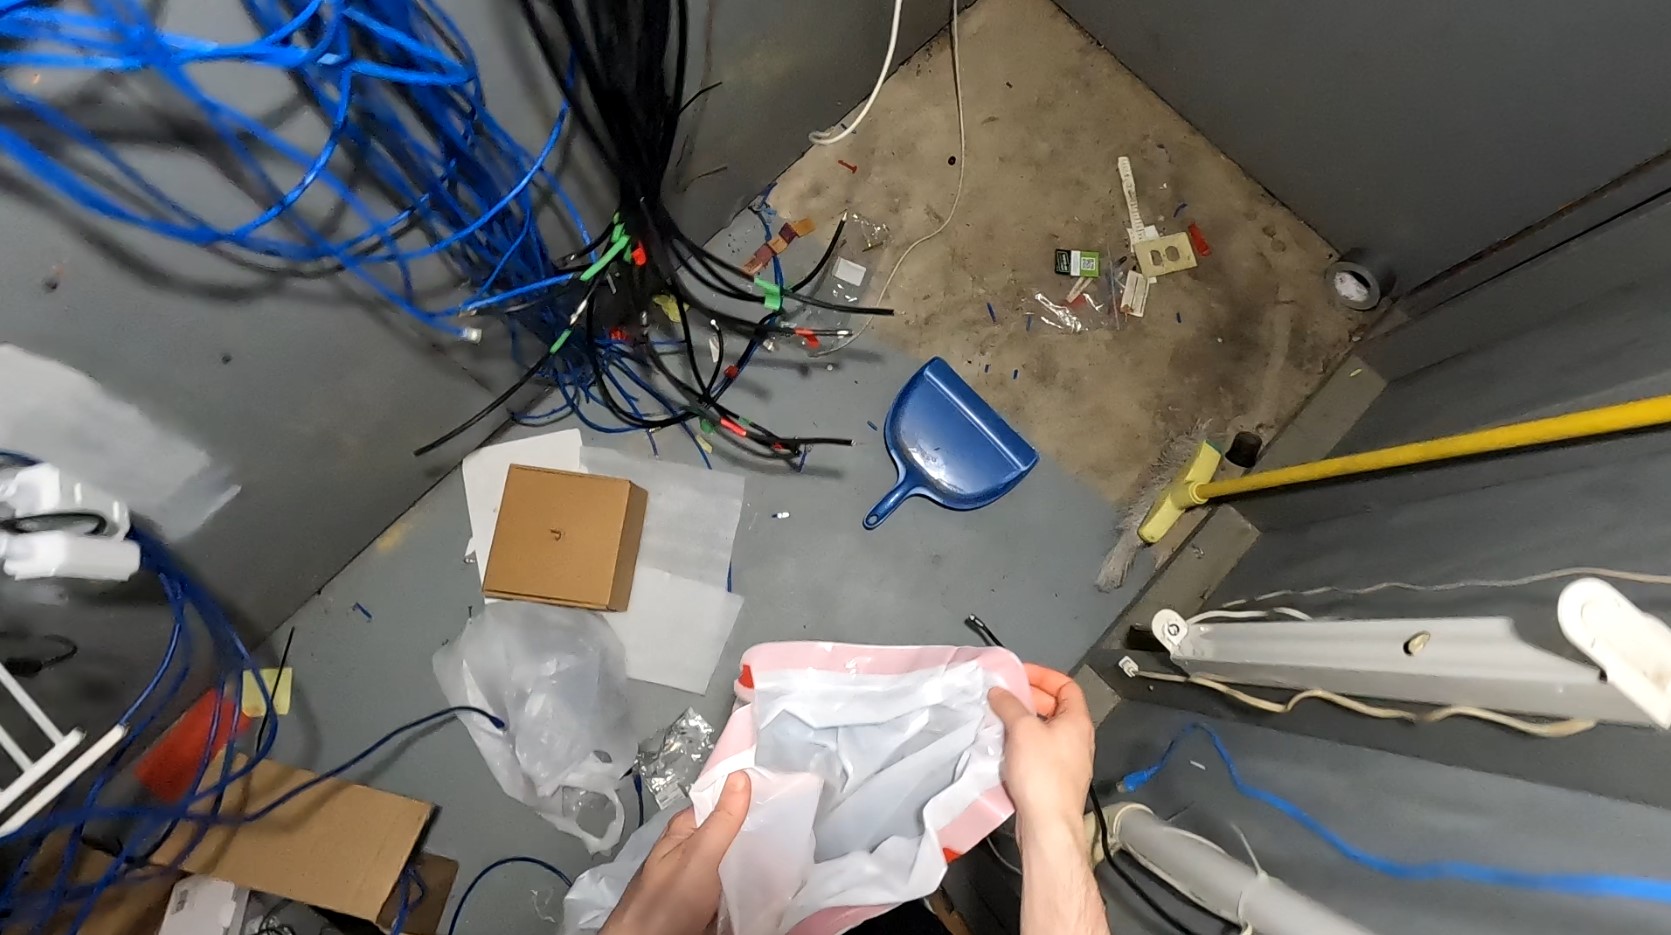
The whole room was a huge mess. After a couple hours of sweeping the floors, it was finally cleared for the rack assembly.

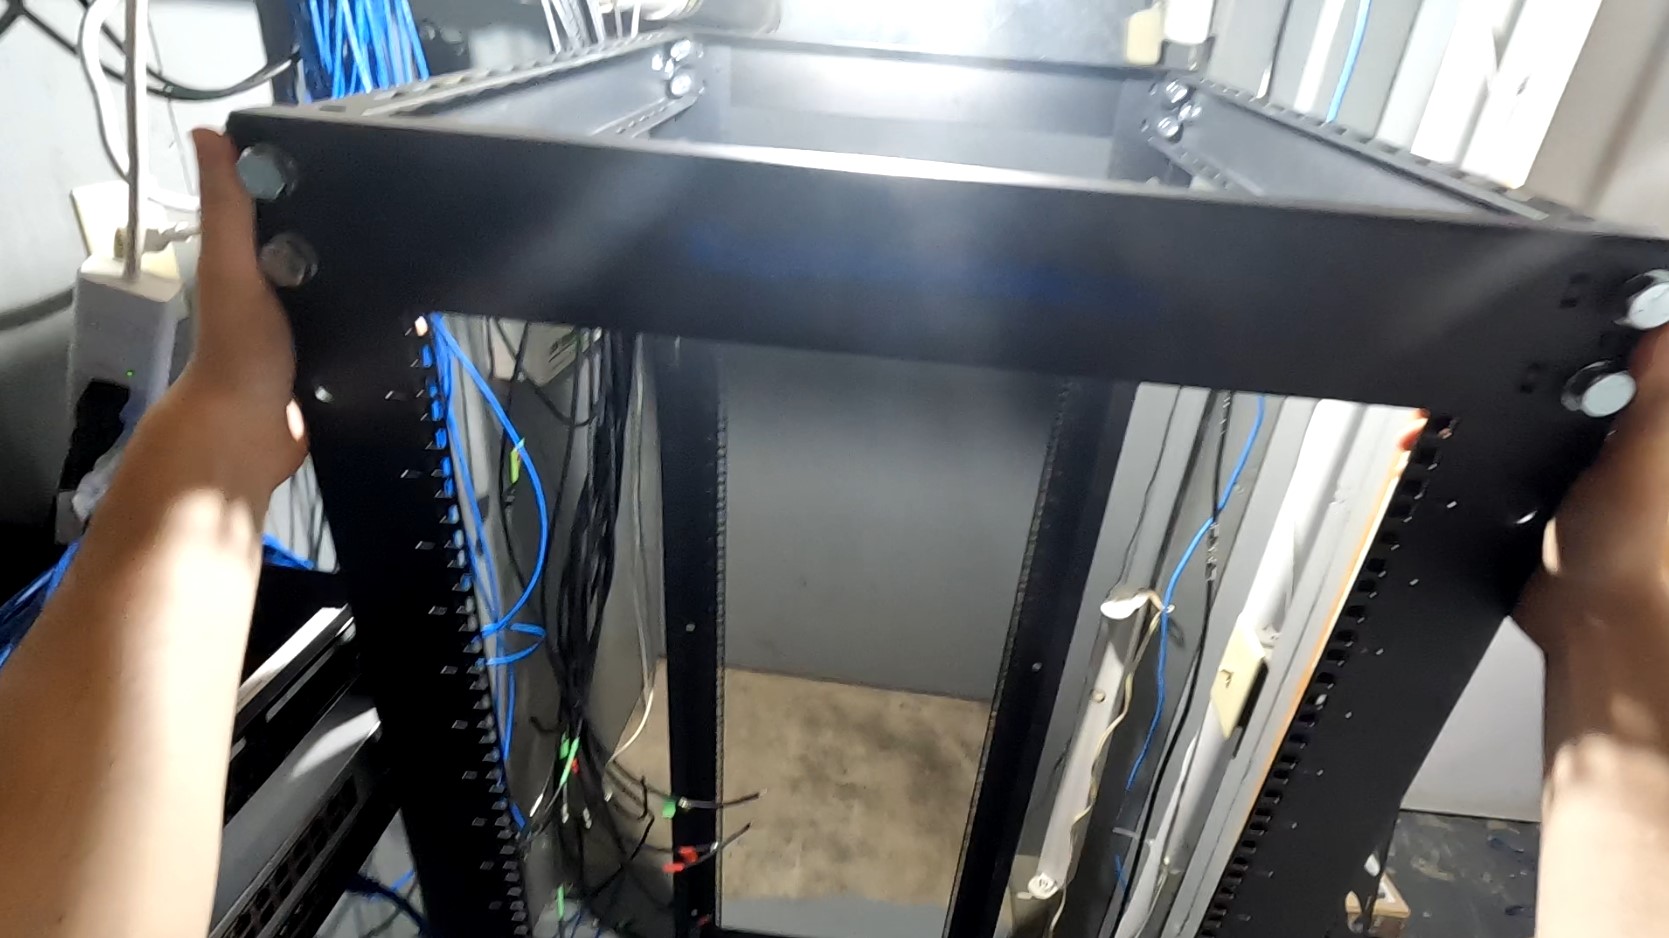
From there I started to assemble the 36U rack I’d gotten from RackSolutions
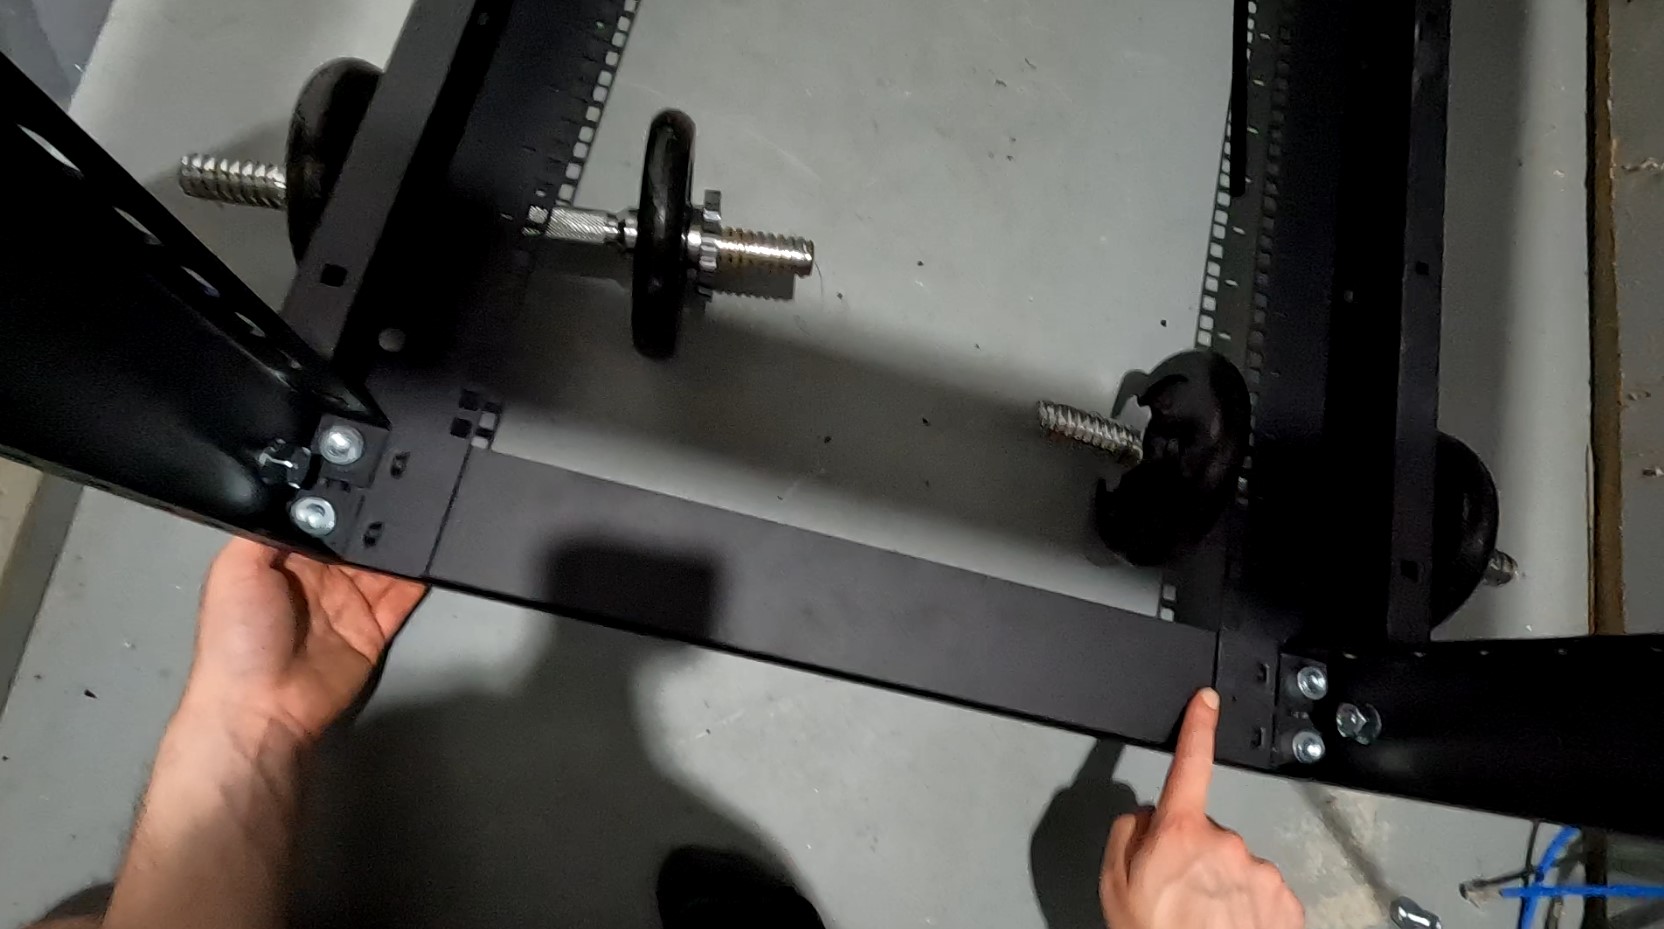
Once I had the rack assembled and upright, I then had to take out the old network equipment:
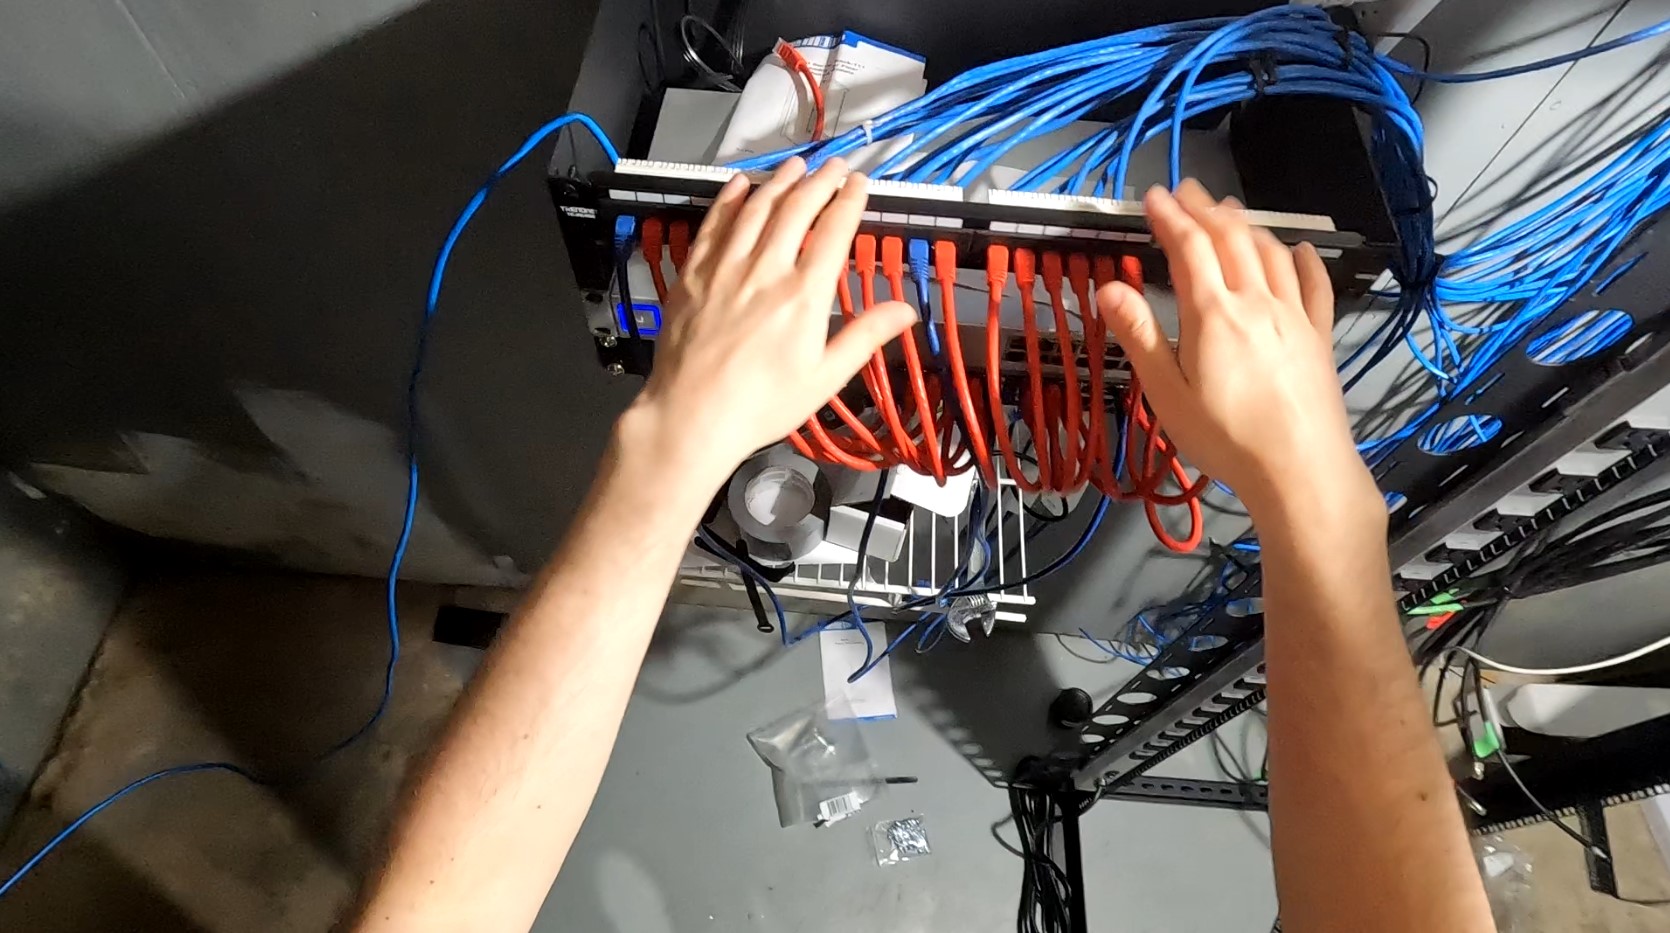
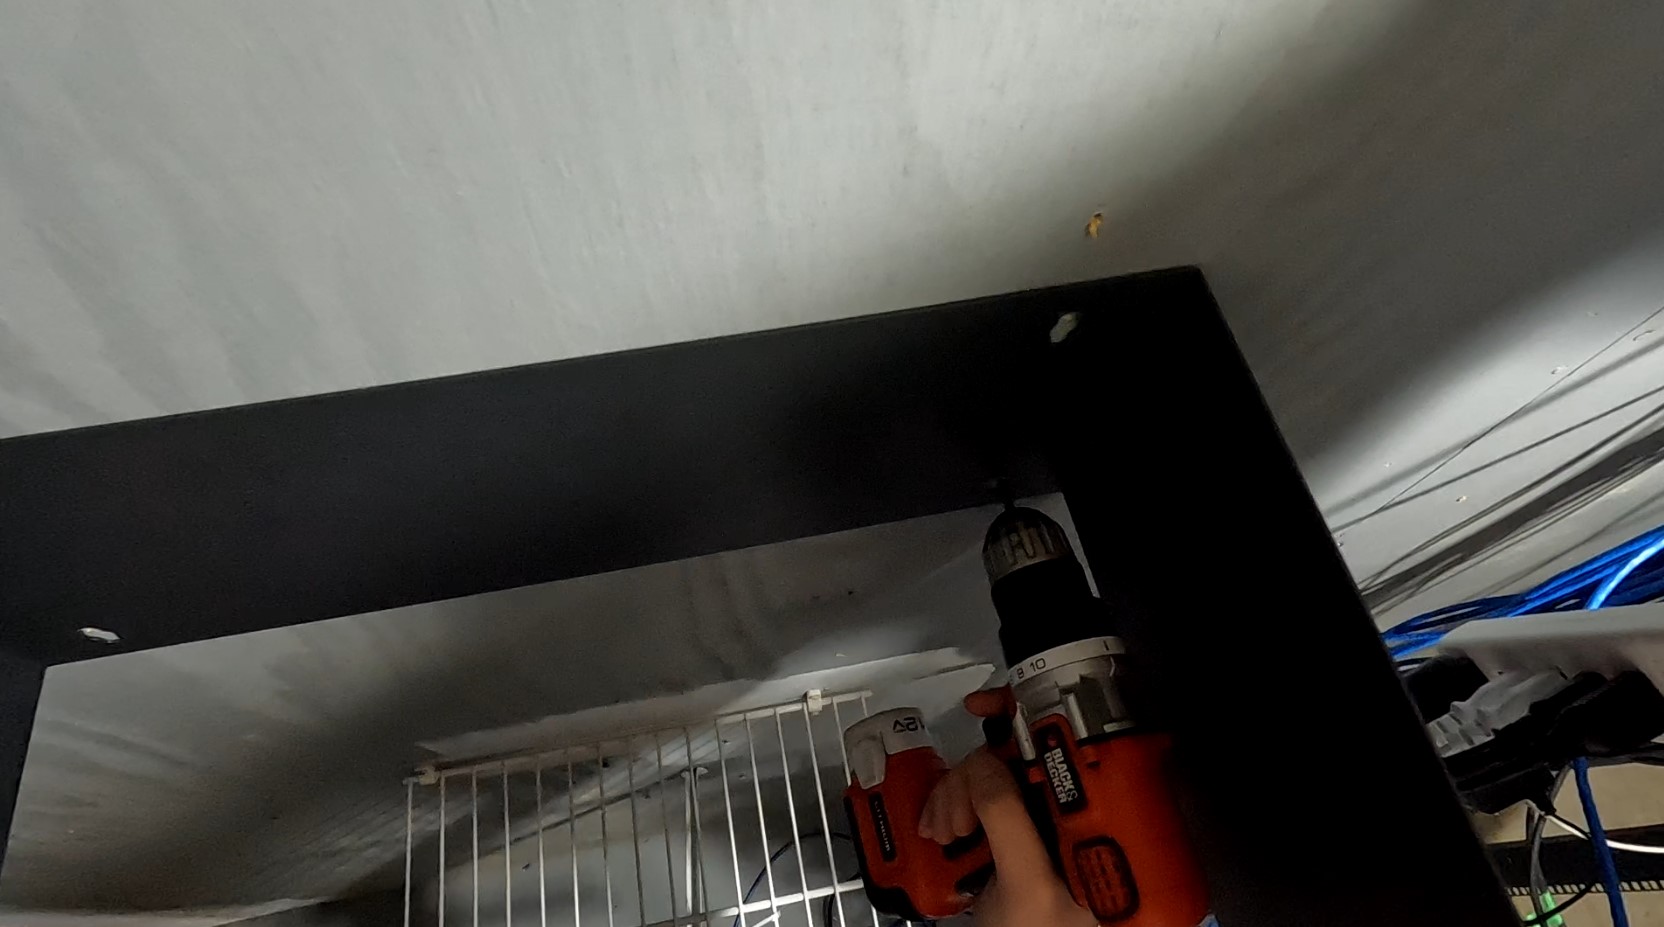
I then moved the new rack in place:
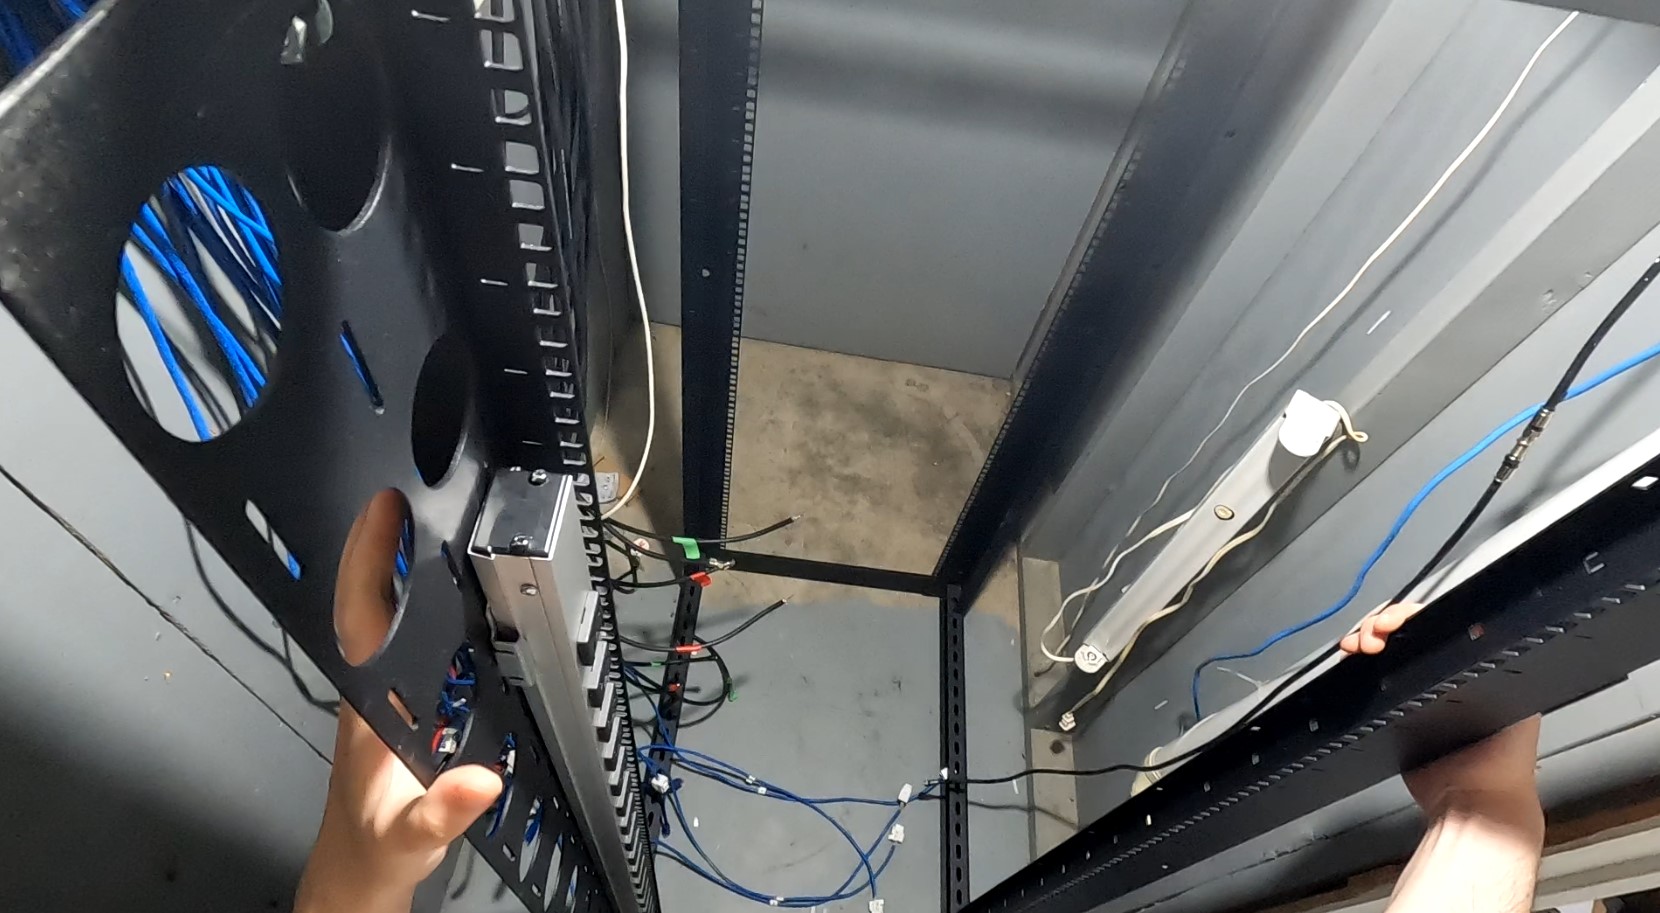
After moving the rack, I then went on to terminate, trace, and label each cable run. This involved converting some faceplates that had RJ-11’s to RJ-45’s. Once that was done I could then start placing the keystones into the patch panel, one cable at a time.
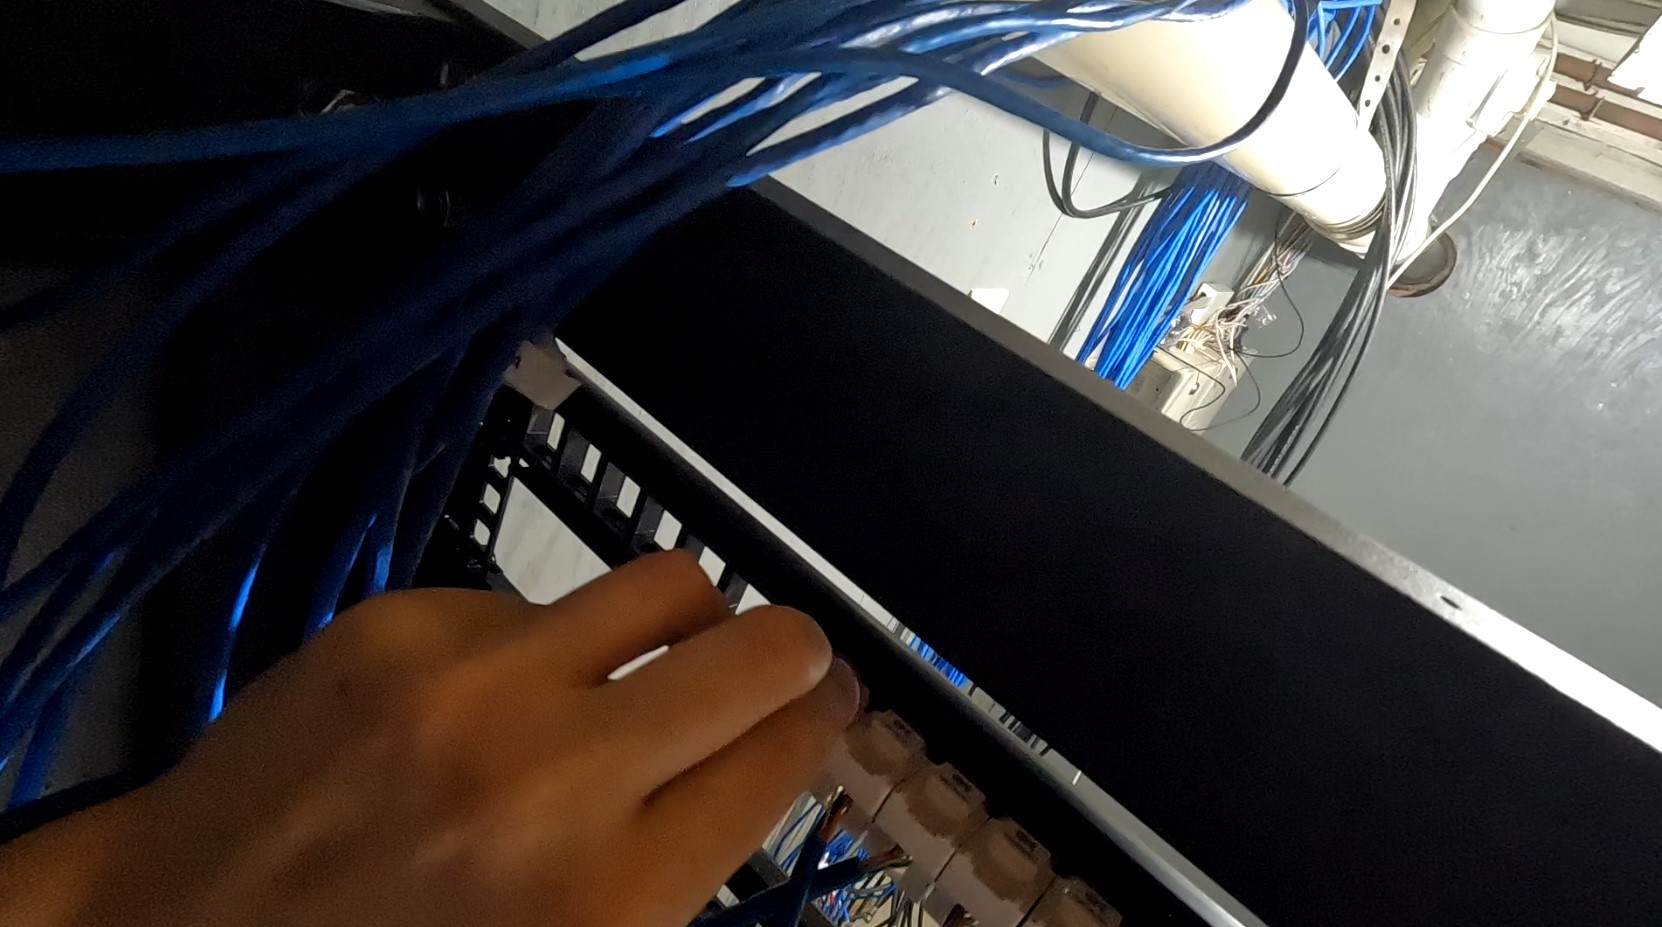
I then added a Unifi 48 port switch in between the patch panels and connected patch cables for each port
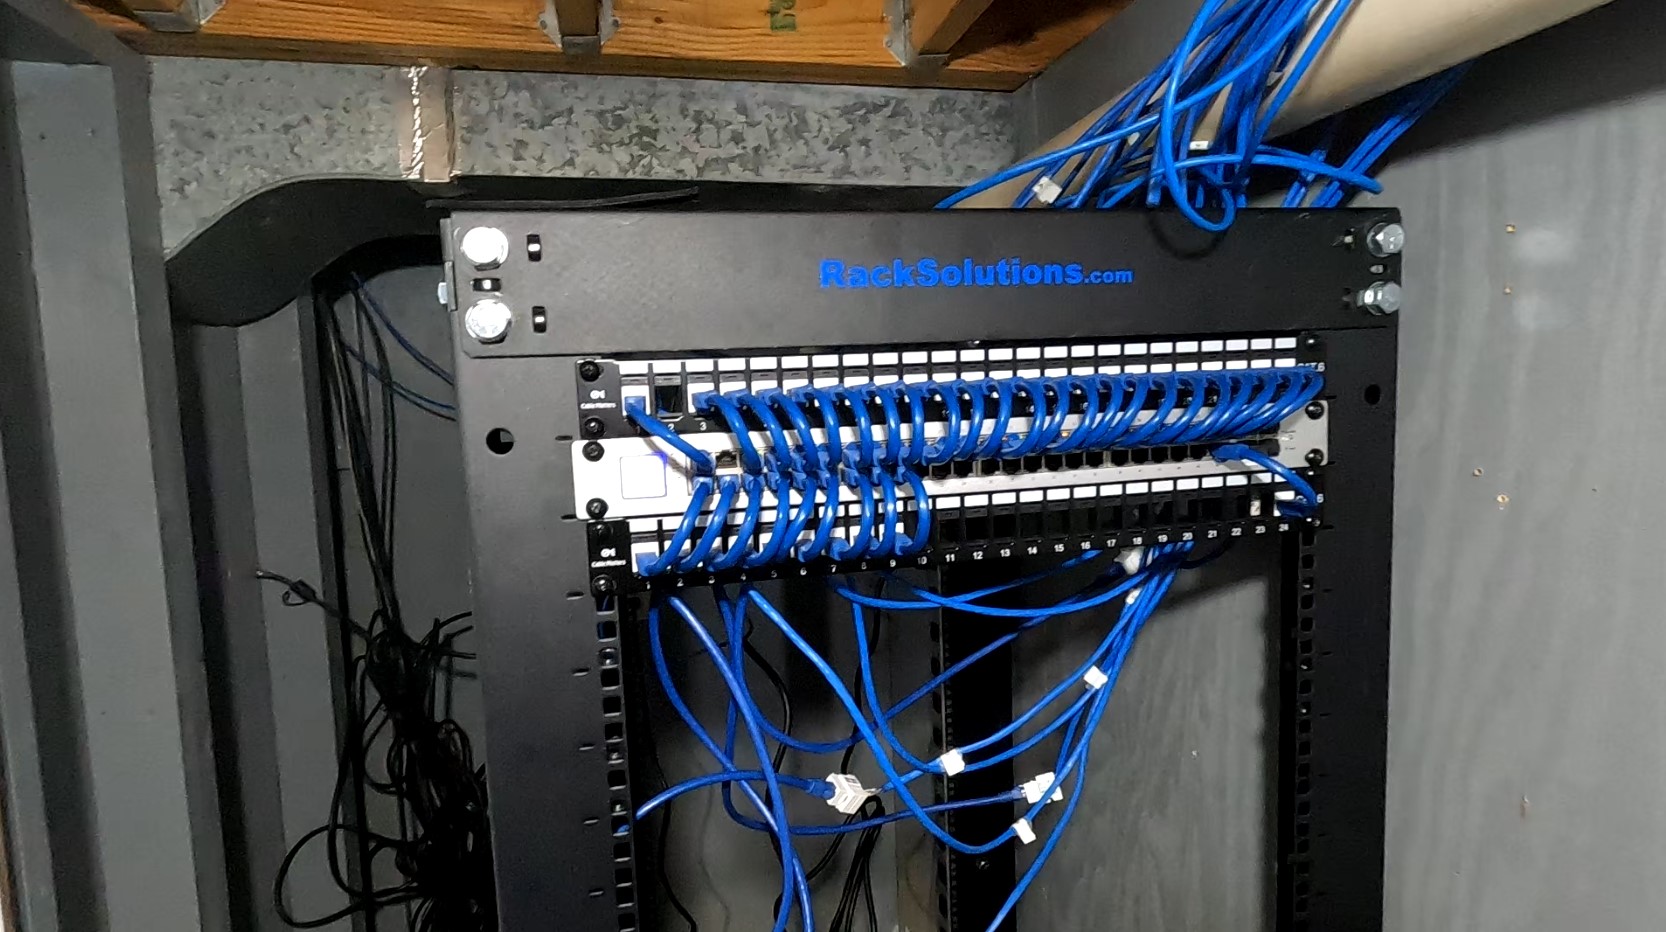
Yeah, cable management isn’t the best, but you know, it works! That’s what matters! Those keystones at the bottom of the patch panels are cables that weren’t long enough, so I extended them with those.
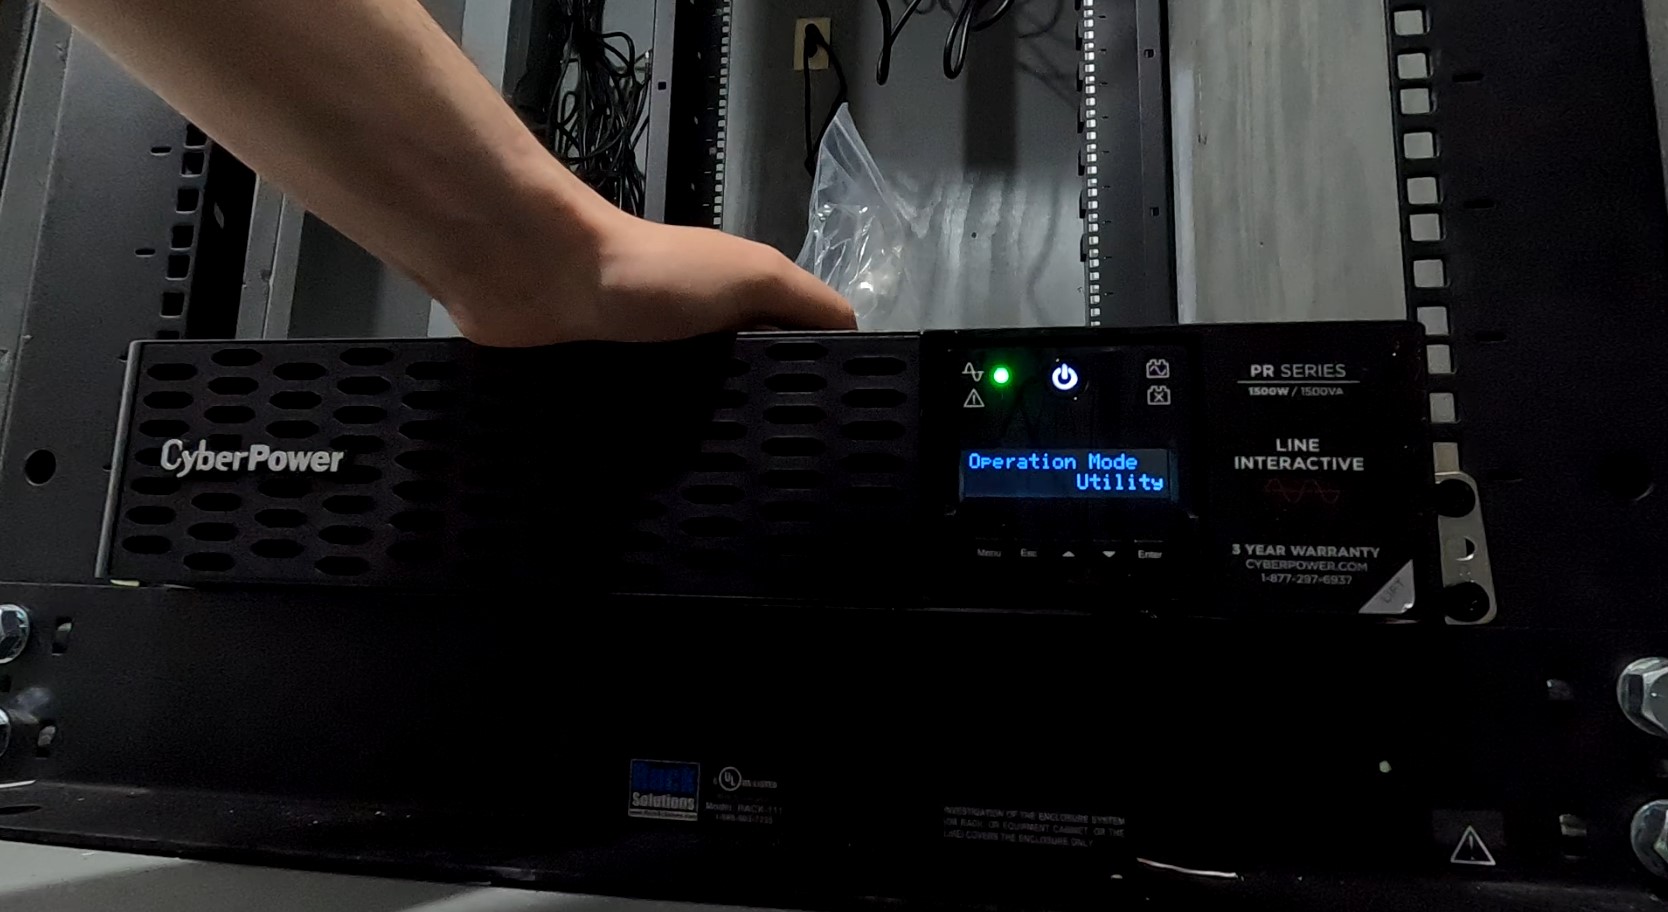
I then slapped on the UPS at the bottom of the rack:
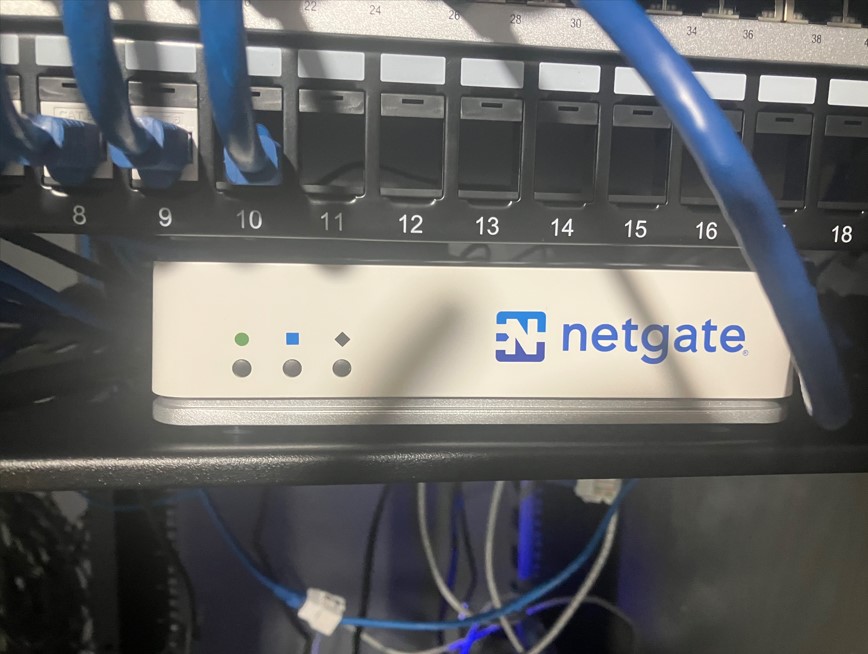
Next was the netgate firewall running pfsense:
Finally, the PowerEdge R250 was installed:
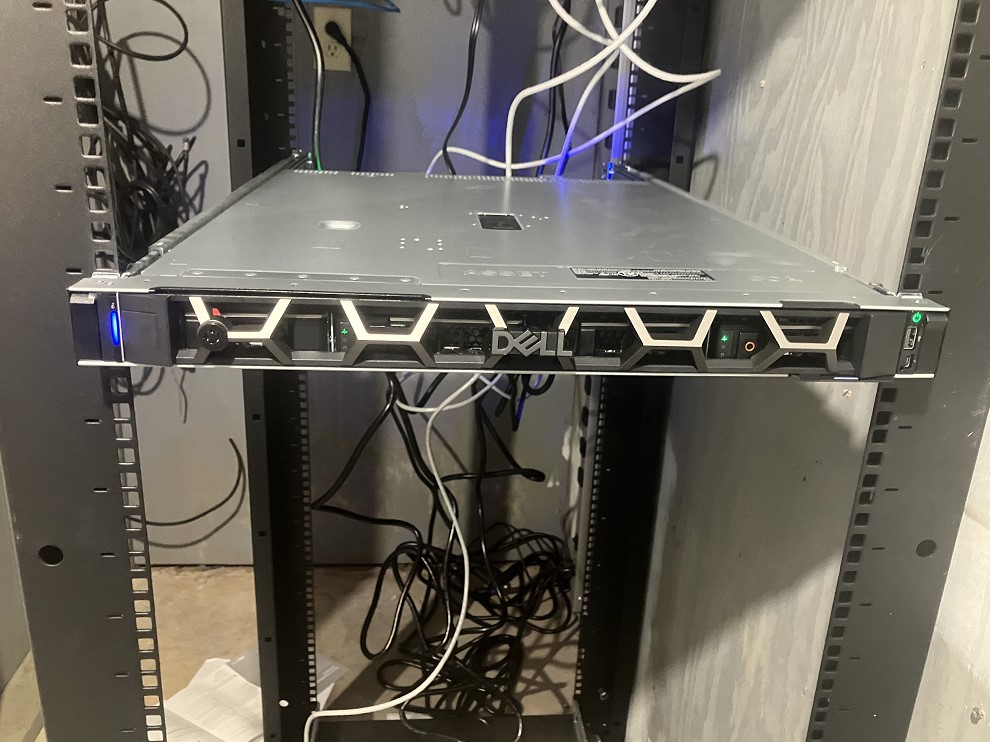
I then went back upstairs and mounted 3 more AP’s around the house for better coverage:
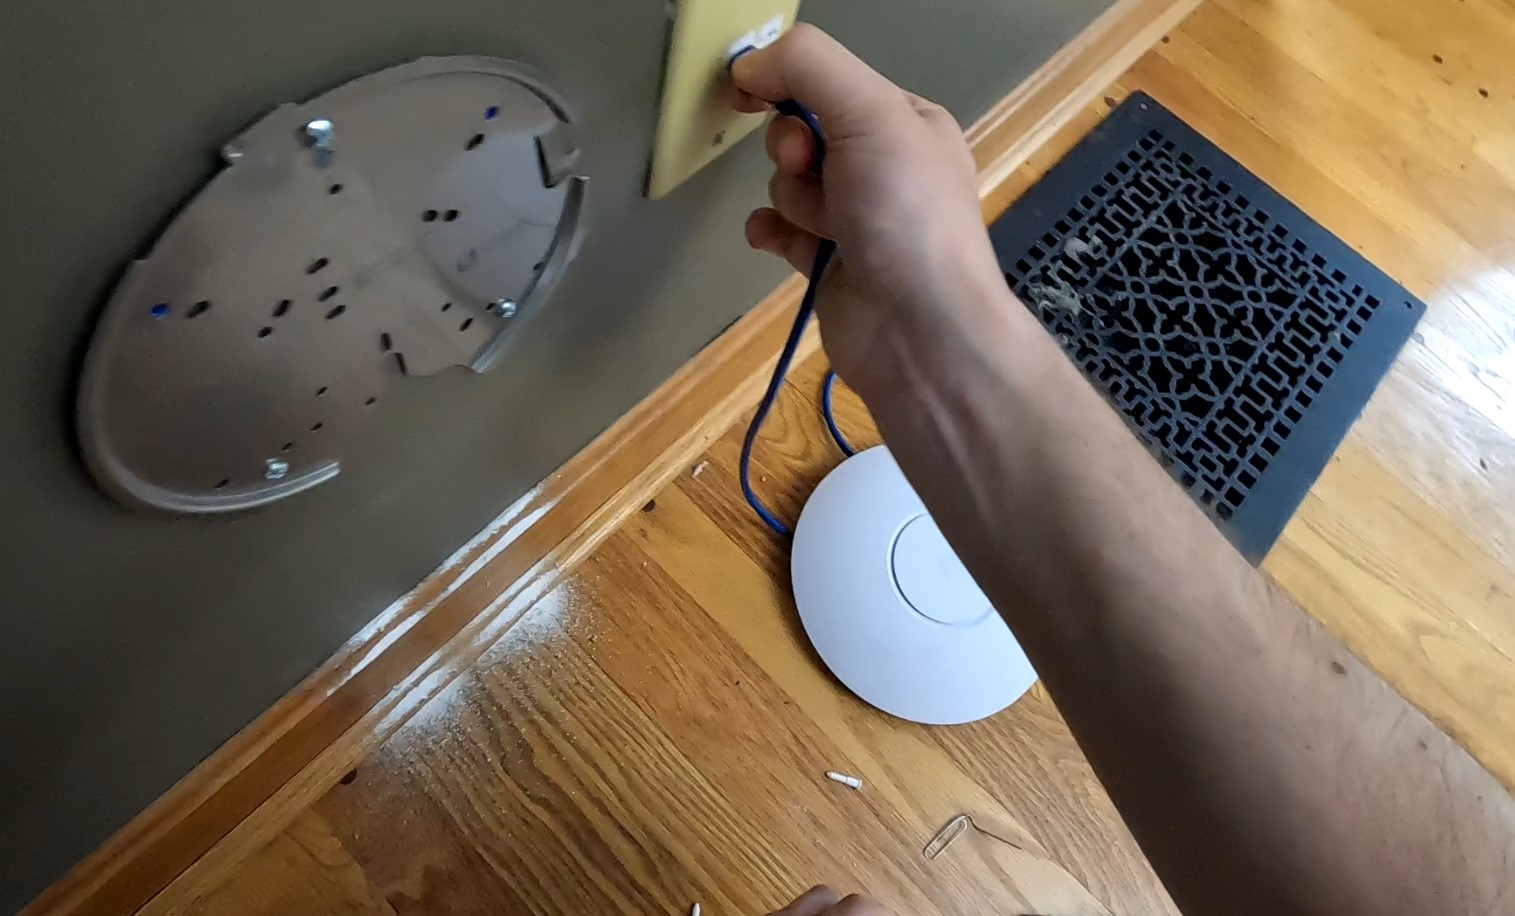
After adding 3 more AP’s the AP count went to a total of 7:
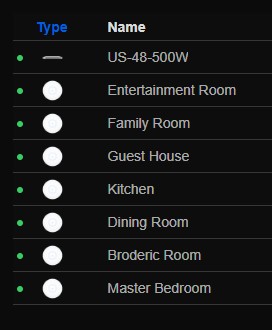
I do plan on adding two more AP’s later on. One in the garage, and then one for the basement as well. With how dense the AP coverage was, there was a bit of overlapping between AP’s. To solve this I put the 2.4 radios on their lowest transmit setting. And for 5 GHz I put them at medium transmit power so they wouldn’t drown out to the 2.4. I then made their channel widths as wide as possible. This allowed for much better roaming, and devices no longer stayed attached to one AP for as long. Basically, for the most part, devices should be using 5 GHz at all times since the coverage is that good. I’m only keeping the 2.4 GHz on just because there are still a couple devices left in this house with 2.4.
After adding and adopting all the AP’s I started the set up of the new Netgate router, a 2100 base model. My old edge router ran on a network class C, while this new router, I decided to go with a class A, just for more IP’s and since I decided I am going to be created plenty of VLANs. I also plan on giving out netgate routers to some family so I can create tunnels to this network and they can all have access to my NAS later on. Now, I don’t have any NAS at the moment, but probably by next year, when I have the budget, it’ll be installed.
The first thing I did when setting up pfsense was to create all my interfaces:

I created a guest interface for our guest house, one for IoT devices, and one for VM’s. I then assigned VLANs for each interface. So the main, untagged LAN is 10.10.10.0/24, guest is 10.10.11.0/24 and so on. Basically the 3rd octet is for VLANs, while I planned on having the 2nd octet for each location. So when I add another location it’ll be 10.20.10.0/24 instead. That’s pretty much how my network scheme is going to be. Just using a /24 since that is plenty for each home.
Of course I had to add some firewall rules to get each of these interfaces working. Basically just allowing any traffic over the interface. Setting up each network was extremely easy. I just add a new network, add DHCP service to it, then assign it an interface, and add firewall rules. Took like 30 minutes tops. I am a huge fan of pfsense coming from someone who’s been using an EdgeRouter the past couple of years. The UI is 1000x better and it’s just so much easier to navigate around.
After getting the new network subnets done, I went on to setup my Dell PowerEdge. I got a slightly used R250 poweredge. I slapped in 64 GB of RAM and 2TB of storage. Setting up the poweredge was actually super easy. I boot it up and it walked me through assigning IP’s for both the iDRAC interface and lan interface. I set up iDRAC in like 2 minutes. Then did some firmware updates which took about an hour. Then configured a RAID 10 for the 4 500GB drives I had installed. The whole set up took like around 1 and 30 minutes. Once I had access to iDRAC from the web browser, I installed proxmox super quick.
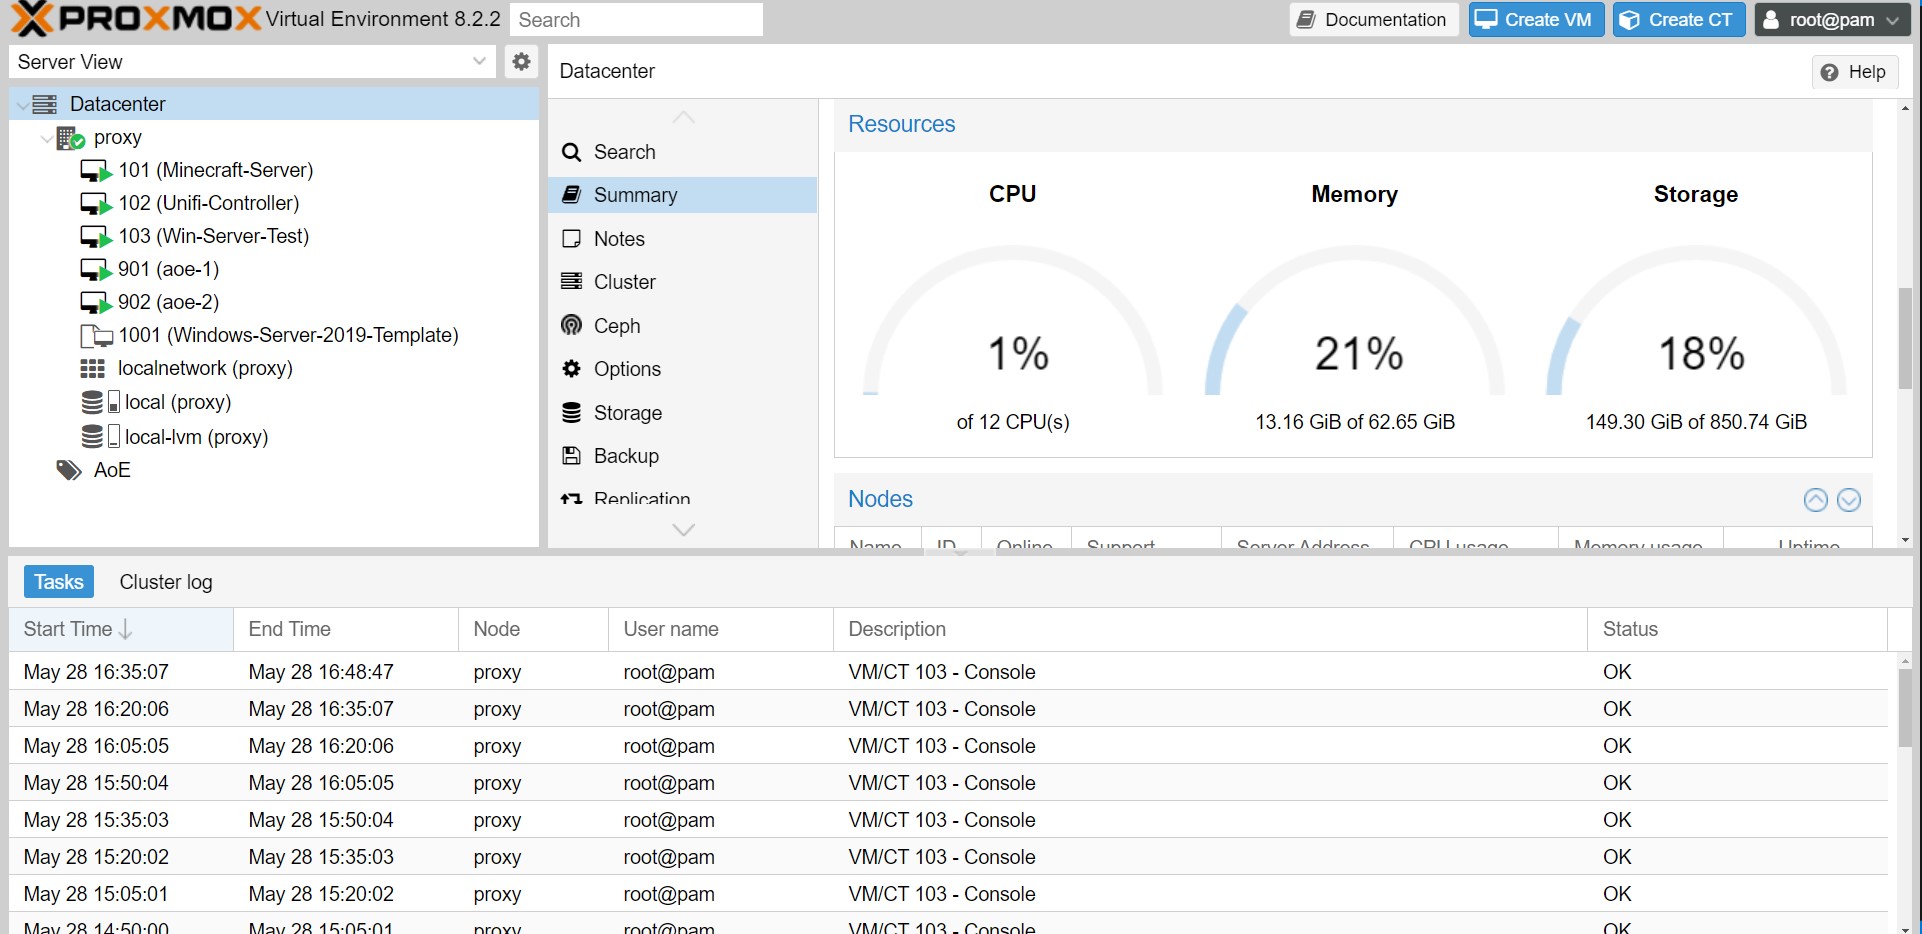
I’ve kind of just been screwing around on proxmox and just testing stuff out. I first created a minecraft server on Ubuntu Server. Mostly because I wanted to see how well this thing performed and if I could get my brother to connect to it all the way from Japan. Was great getting it up and running and see my brother connect to it from across the pacific. Played for like 20 minutes and haven’t touched it since. I also added the Unifi Controller on there as well. It was originally running on a Raspberry Pi. That Pi is now free for something else!
I plan on creating more templates so I can crank out VM’s super easy. I plan on setting one up for most versions of windows, Kali, Ubuntu, Mint, Parrot. Also want a template for pfsense as well. With proxmox it’s going to allow me to do some serious labbing. I really want to set up some little environments where I have a tiny group of machines running and connected to a DC with AD. I also plan on running a bunch of containers on here as well.
One last thing I am really exited about is using this for CTF’s. I can create a Kali vm for each CTF I play in. And performance will be way better. Before, I was running my VM’s directly on my laptop, with a type 2 hypervisor like vmware or virtualbox. But now with proxmox being a type 1 hypervisor, performance is going to be way better.